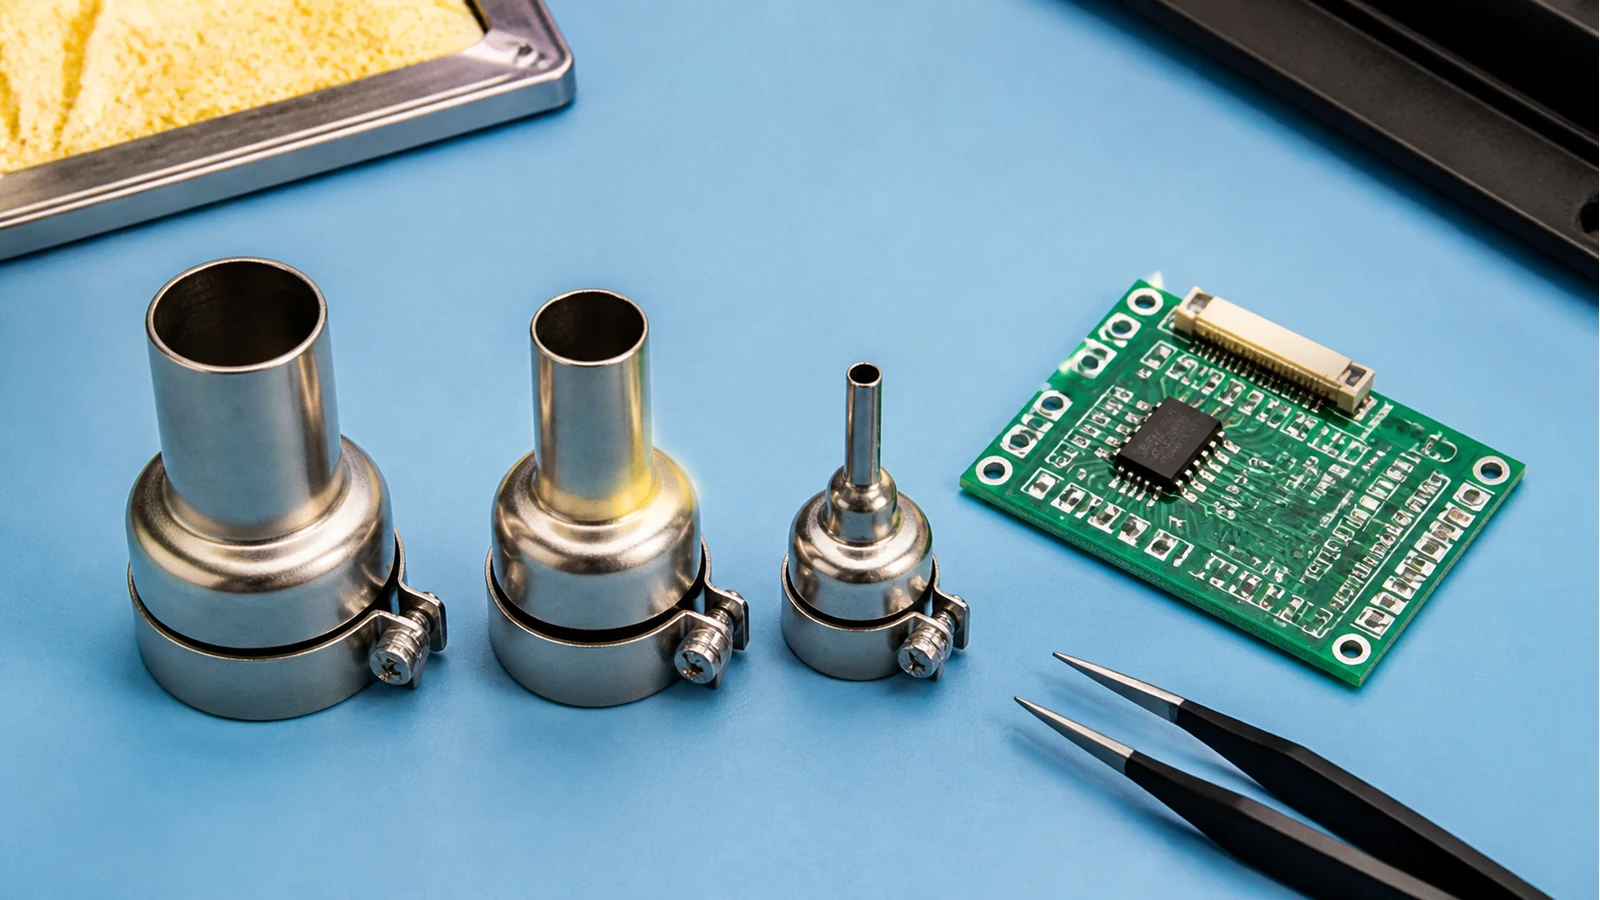
Hot Air Nozzle Sizes For Smd Rework Uk
Direct answer: choose the smallest nozzle that heats the whole target area without blasting nearby parts. For most maker and repair benches, nozzle choice is less about a magic millimetre size and more about heat zone, airflow control and practice on scrap before customer hardware.
The SolderMag hot-air guide frames temperature and airflow as a pair, which is the right way to think. A nozzle that is too large can heat too much board area; a nozzle that is too small can force you to chase the part with high heat for too long. The best practical compromise is even coverage, low-to-moderate airflow to start, and enough clearance to avoid scraping components.
Nozzle choice by job type
| Job | Nozzle approach | What to watch |
|---|---|---|
| Small passives | Use a small round nozzle and low airflow. | Nearby 0402/0603 parts can move before the target does. |
| SOIC or small QFP | Cover the package body and leads evenly. | Do not focus only on the centre of the chip; the solder is at the leads. |
| USB-C or HDMI shell | Heat the shell anchor area and connector footprint as a zone. | Board copper mass may need patience; do not pry against stubborn solder. |
| Shield cans | Use a broader nozzle only when you can protect surrounding plastics. | Large metal parts sink heat and can tempt unsafe airflow. |
Do not pick by package name alone
The PACE nozzle selector guidance is useful because it points the reader back to coverage around the component rather than a fixed package label. A QFP on a thin practice board and the same package on a ground-heavy repair board can behave differently. Board copper, nearby shields, plastic connectors and the amount of old solder all change the job.
If you are still deciding whether you need hot air at all, the UK hot-air buying guide is a helpful category-level reference. Iron-only through-hole work can often wait; connector shells, SMD ICs and shield cans are where hot air starts to make sense.
Practice-board plan
- Pick three scrap components: a passive, a small IC and a connector shell.
- Test your smallest nozzle first, then step up only when coverage is uneven.
- Keep airflow low enough that loose parts do not skate across the board.
- Record the station display values as your bench notes, not universal advice for every board.
- Move to real repair work only when parts lift cleanly without pushing or prying.
For equipment layout trade-offs, compare this with the guide to separate versus combo hot-air stations.